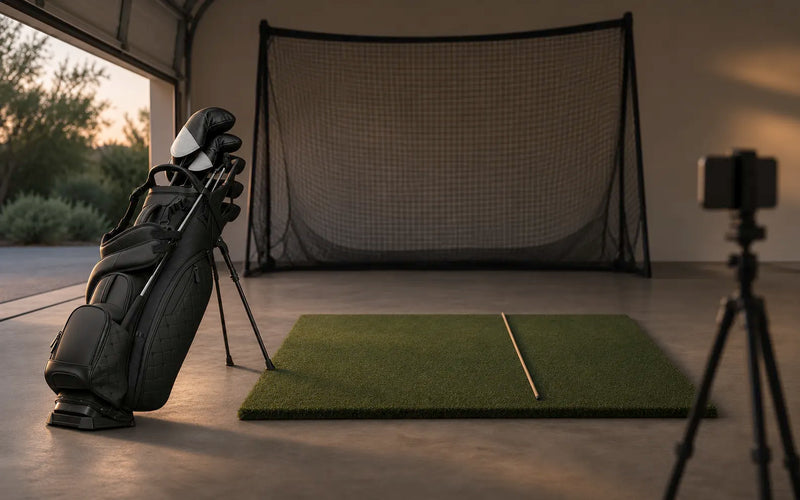
The clocks went back in the UK on Sunday, October 25, and they go back in the US this Sunday, November 1. For most golfers, that ends after-work practice on a real green until spring. The good news: putting is the one part of the game you can practice properly in a living room. A carpet, a few tees and ten minutes a night will do more for your putting this winter than an hour on the practice green once a month.
Here is how to practice putting at home in a way that actually carries over to the course: what to set up, five drills, and a 10-minute routine that runs them in order.
What you can and can't train at home
Be clear about what indoor putting is good for. A carpet or putting mat will never roll like a real green. The speed is different and there is no slope to read. So don't spend your winter trying to perfect distance on your hallway carpet.
What a flat surface is excellent for is everything that happens before the ball reaches the slope:
- Start line. Does the ball leave the putter on the line you chose?
- Face and path. Is the putter face square at impact, and is the path consistent?
- Setup. Are your eyes, shoulders and ball position the same every time?
- A repeatable stroke. Are your arms and body moving together, or are your hands taking over?
- Short putts under pressure. Can you hole a run of 3-footers when a miss means starting again?
Get those right at home, and on the course you only have to worry about reading the green and judging speed.
The setup
You don't need much. Find the longest straight run of flat, low-pile carpet you have, or lay down a putting mat. Then gather:
- A few golf balls (three is enough, six is better)
- Four tees or coins
- An alignment stick, or a straight edge like a yardstick
- A target. A cup, a coaster or a 4.25-inch circle drawn on paper all work. That is the width of a regulation hole, so it keeps your sense of scale honest.
If you want more precise feedback, the two training aids below are worth having. Neither is required for the drills.

Drill 1: The gate drill (start line)
This is the most valuable putting drill there is, and it suits indoor practice well.
- Pick a straight line about 6 feet long toward your target.
- Push two tees into the carpet (or set two coins down) about 16 inches in front of the ball, just wider than a golf ball apart.
- Putt through the gate. If the ball clips a tee, it did not start on your line.
- When you get 10 in a row through, move the tees closer together.
The gate tells you right away whether the ball started where you aimed, and it doesn't matter whether the putt drops. That separation is the point. A putt can miss because of a bad stroke or because of a bad read, and on a real green you can't tell which. The gate takes the read out of it.
Make it more precise: The Putting Gate from SwingPlate was developed with PGA putting coach Andy Gorman. It has two gate widths, 55mm and 60mm, so you have a threshold to clear and a harder one to work toward. SwingPlate's own figures show how little room there is. Through the 55mm gate from 14 inches, you need less than 1 degree of error. Through the same gate from 19 inches, less than 0.75 degrees. The gate's body also has a 4.25-inch slot, the width of a regulation hole, so you always have a reference for scale. One note before you buy: it attaches to a SwingPlate base unit (Standard or Dual Pro), which is sold separately.
Drill 2: The connected stroke (arms and body together)
Many missed putts come from the hands and wrists doing too much. The putter face twists, the ball starts off line and distance becomes inconsistent. The fix is a stroke powered by the shoulders and chest, with the arms moving as one unit with the body.
- Tuck a small towel or headcover under both armpits.
- Hit 10 putts on your 6-foot line without letting either one drop.
- If something falls, your arms separated from your body during the stroke. Slow down and rock the shoulders instead.
Make it more precise: The Leadbetter Putting Bar does this job without the guesswork. It sits under both arms, between the triceps and chest, and once it is in place your arms can't separate from your body during the stroke. That takes the hand-and-wrist action out and leaves the shoulder-rocking motion. It also works for chipping if you tend to flip the wrists at impact. It is small enough to keep in your bag for warm-ups once the season starts.
Drill 3: The eye-line check (setup)
Where your eyes sit at address changes how the line looks to you. If they are well inside or outside the ball, a putter that is aimed straight can look crooked, and you will adjust your aim to match what you see. You can check your eye line in 30 seconds.
- Take your normal putting setup over a ball.
- Hold a second ball against the bridge of your nose and let it drop.
- It should land on or just inside the ball on the ground. If it lands well outside, stand a little farther from the ball or bend a little more from the hips, and check again.
Do this once at the start of every session. Setup drifts over a winter more than most golfers realize.
Drill 4: The ladder (distance control on your surface)
Your carpet won't match a green's speed, but you can still train the skill underneath distance control: making the length of the stroke control the length of the putt.
- Lay an alignment stick or yardstick across your line about 10 feet away. That is your backstop.
- Putt the first ball so it stops as close to the stick as possible without touching it.
- Each next ball has to finish past the one before it, still short of the stick.
- See how many balls you can fit in before one touches the stick. Write the number down and try to beat it.
The skill you are building is small, deliberate changes in stroke length. That carries over to any green speed. The exact distances won't, and that's fine.
Drill 5: Twenty in a row (pressure)
Finish every session with short putts and a reason to care about them.
- Set a ball 3 feet from your target.
- Hole 20 in a row. Miss one and you start again from zero.
- Go through your full routine every time: read, setup, one look, stroke.
Around putt 15 you will feel some tension. That is the drill working. Short putts are lost to nerves far more often than to a lack of skill, and this is the cheapest way to practice handling them.

A 10-minute nightly routine
Here is how to run the five drills in 10 minutes, so it is easy to keep up through the winter:
| Minutes | Drill | Goal |
|---|---|---|
| 0 to 1 | Eye-line check | Ball drops on or just inside the target ball |
| 1 to 4 | Gate drill | 10 in a row through the gate |
| 4 to 6 | Connected stroke | 10 putts, towel stays put |
| 6 to 8 | Ladder | Beat your best count |
| 8 to 10 | Twenty in a row | 20 straight from 3 feet |
Ten minutes a night, five nights a week, adds up to more than three and a half hours of focused putting practice a month. Most golfers don't get close to that in the summer.
Taking it back outside
When you get back on a real green, give yourself 10 minutes before a round to adjust. Roll a few long putts first to find the speed, because that is the one thing your carpet couldn't teach. Then hit a handful of 3-footers through your routine. Your start line, stroke and setup should already be ready.
Browse the full Improve Putting collection if you want feedback tools for your home setup. Every product in it passed the test described in the four-question test we run before stocking anything. If you are working on your long game indoors too, our post on how Matt Fitzpatrick sharpens his iron play covers drills you can adapt.
Sources
- US clock change, November 1, 2026: FOX 29
- UK clock change, October 25, 2026: Royal Museums Greenwich
- Putting Gate specifications and error figures: SwingPlate product information
- Putting Bar description: Leadbetter product information